Aqua Dream Pools

Most homeowners have a hard time picturing a swimming pool from a flat drawing. You see lines on paper and try to imagine where the deck ends, how the spa lines up with the patio doors, and whether the water feature will block the view from the kitchen window. That gap between the drawing and reality is where costly surprises come from — and it is exactly the gap that 3D CAD design closes.

What 3D CAD Design Actually Shows You

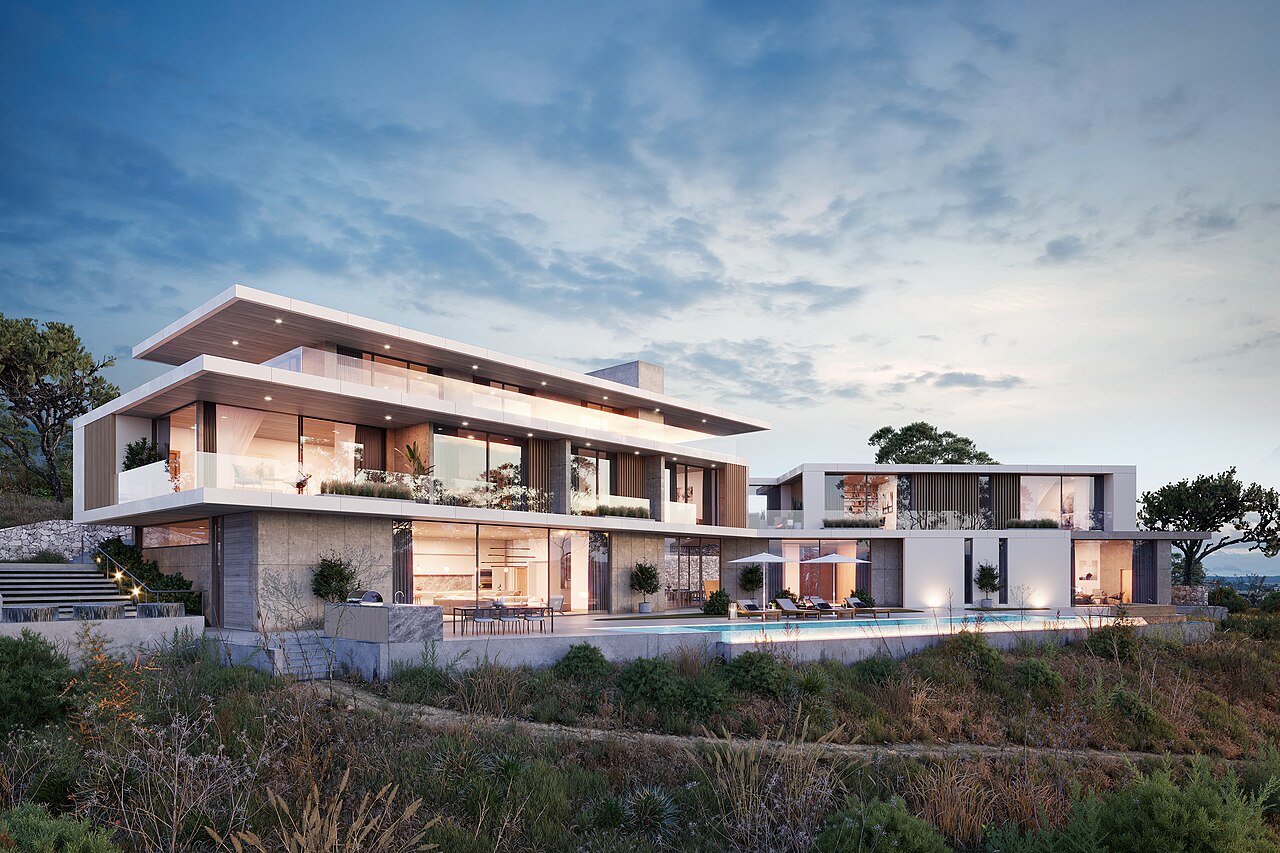
During the design phase, our team builds a three-dimensional digital model of your yard with the pool placed inside it. The model includes the pool shape and size, elevation changes, the deck and its surfaces, landscaping, water features, lighting, and any structures already on the property. You are not looking at an artist’s rough impression — you are walking through an accurate rendering of your own backyard before construction starts.

Because the model is built from real measurements of your property, what you see in the rendering is what the finished project will look like. The swimming pool design page walks through this process in more detail.

Revise on the Screen, Not in the Concrete

Every client receives a custom pool design before we begin custom pool construction in Danville. This matters because changes are cheap on the screen and expensive in the ground. Moving a spa two feet, widening a set of steps, or switching a deck surface from pavers to poured concrete is a conversation in the design phase; after excavation, those same changes mean rework, delays, and added cost.

With a 3D model, you can request revisions during design review and see the impact of each one immediately. Maybe the raised water wall blocks sight lines from the covered patio. Maybe a deeper section makes more sense at the far end than near the shallow entry. You approve the design only after every one of those details looks right to you.

Why This Matters in Danville Backyards

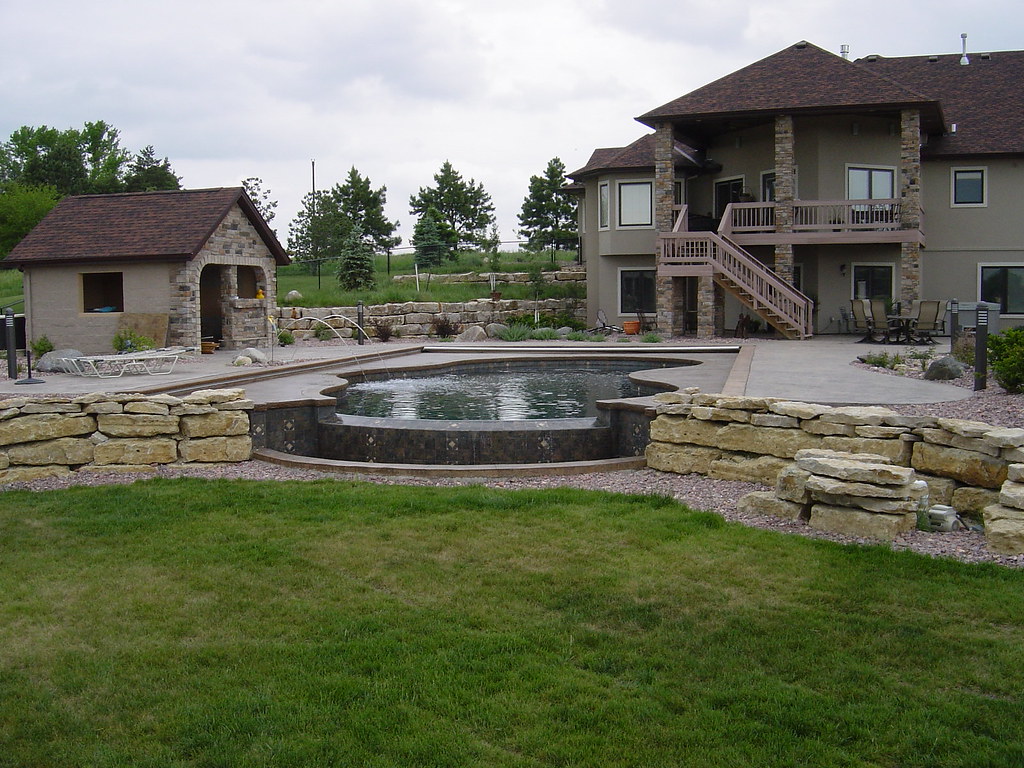
Lots in Danville and the surrounding towns often have slopes, mature trees, or irregular property lines that a stock pool template simply ignores. A 3D CAD model accounts for the actual grade of your yard and how the pool will sit within it. Retaining walls, raised bonds, and multi-level decks can be modeled honestly instead of guessed at, so the construction plan reflects your property — not a generic rectangle on flat ground.

How the Process Works

First, we meet with you to understand how you want to use the space: lap swimming, entertaining, a play area for kids, or a quiet spa retreat. Next, we survey the yard and take the measurements the model needs. Our designers then produce the 3D rendering and walk you through it, section by section. You make revisions, we update the model, and the loop repeats until you are satisfied. Only after you approve the final design do we schedule construction and file for the necessary permits.

From there, the model becomes the shared reference for every trade on the project. The excavation crew, the steel setters, the plumbers, and the finish crews are all building to the same approved picture, which keeps the build aligned with what you signed off on.

See It Before You Build It

If you are planning a new pool or a full backyard remodel, start with the design step rather than a construction quote. Ask us to show you a 3D rendering of your own yard — it is the single best way to make a confident decision about the biggest addition you will ever make to your property.
Why Acid Washes Take the Spotlight During a Danville Remodel

When most Danville pool owners plan a remodel, they picture the visible upgrades: new coping, a fresh deck, maybe a tanning ledge. The work that transforms the pool most dramatically, though, often happens on the inside surface of the shell – and for many older pools, that starts with an acid wash.

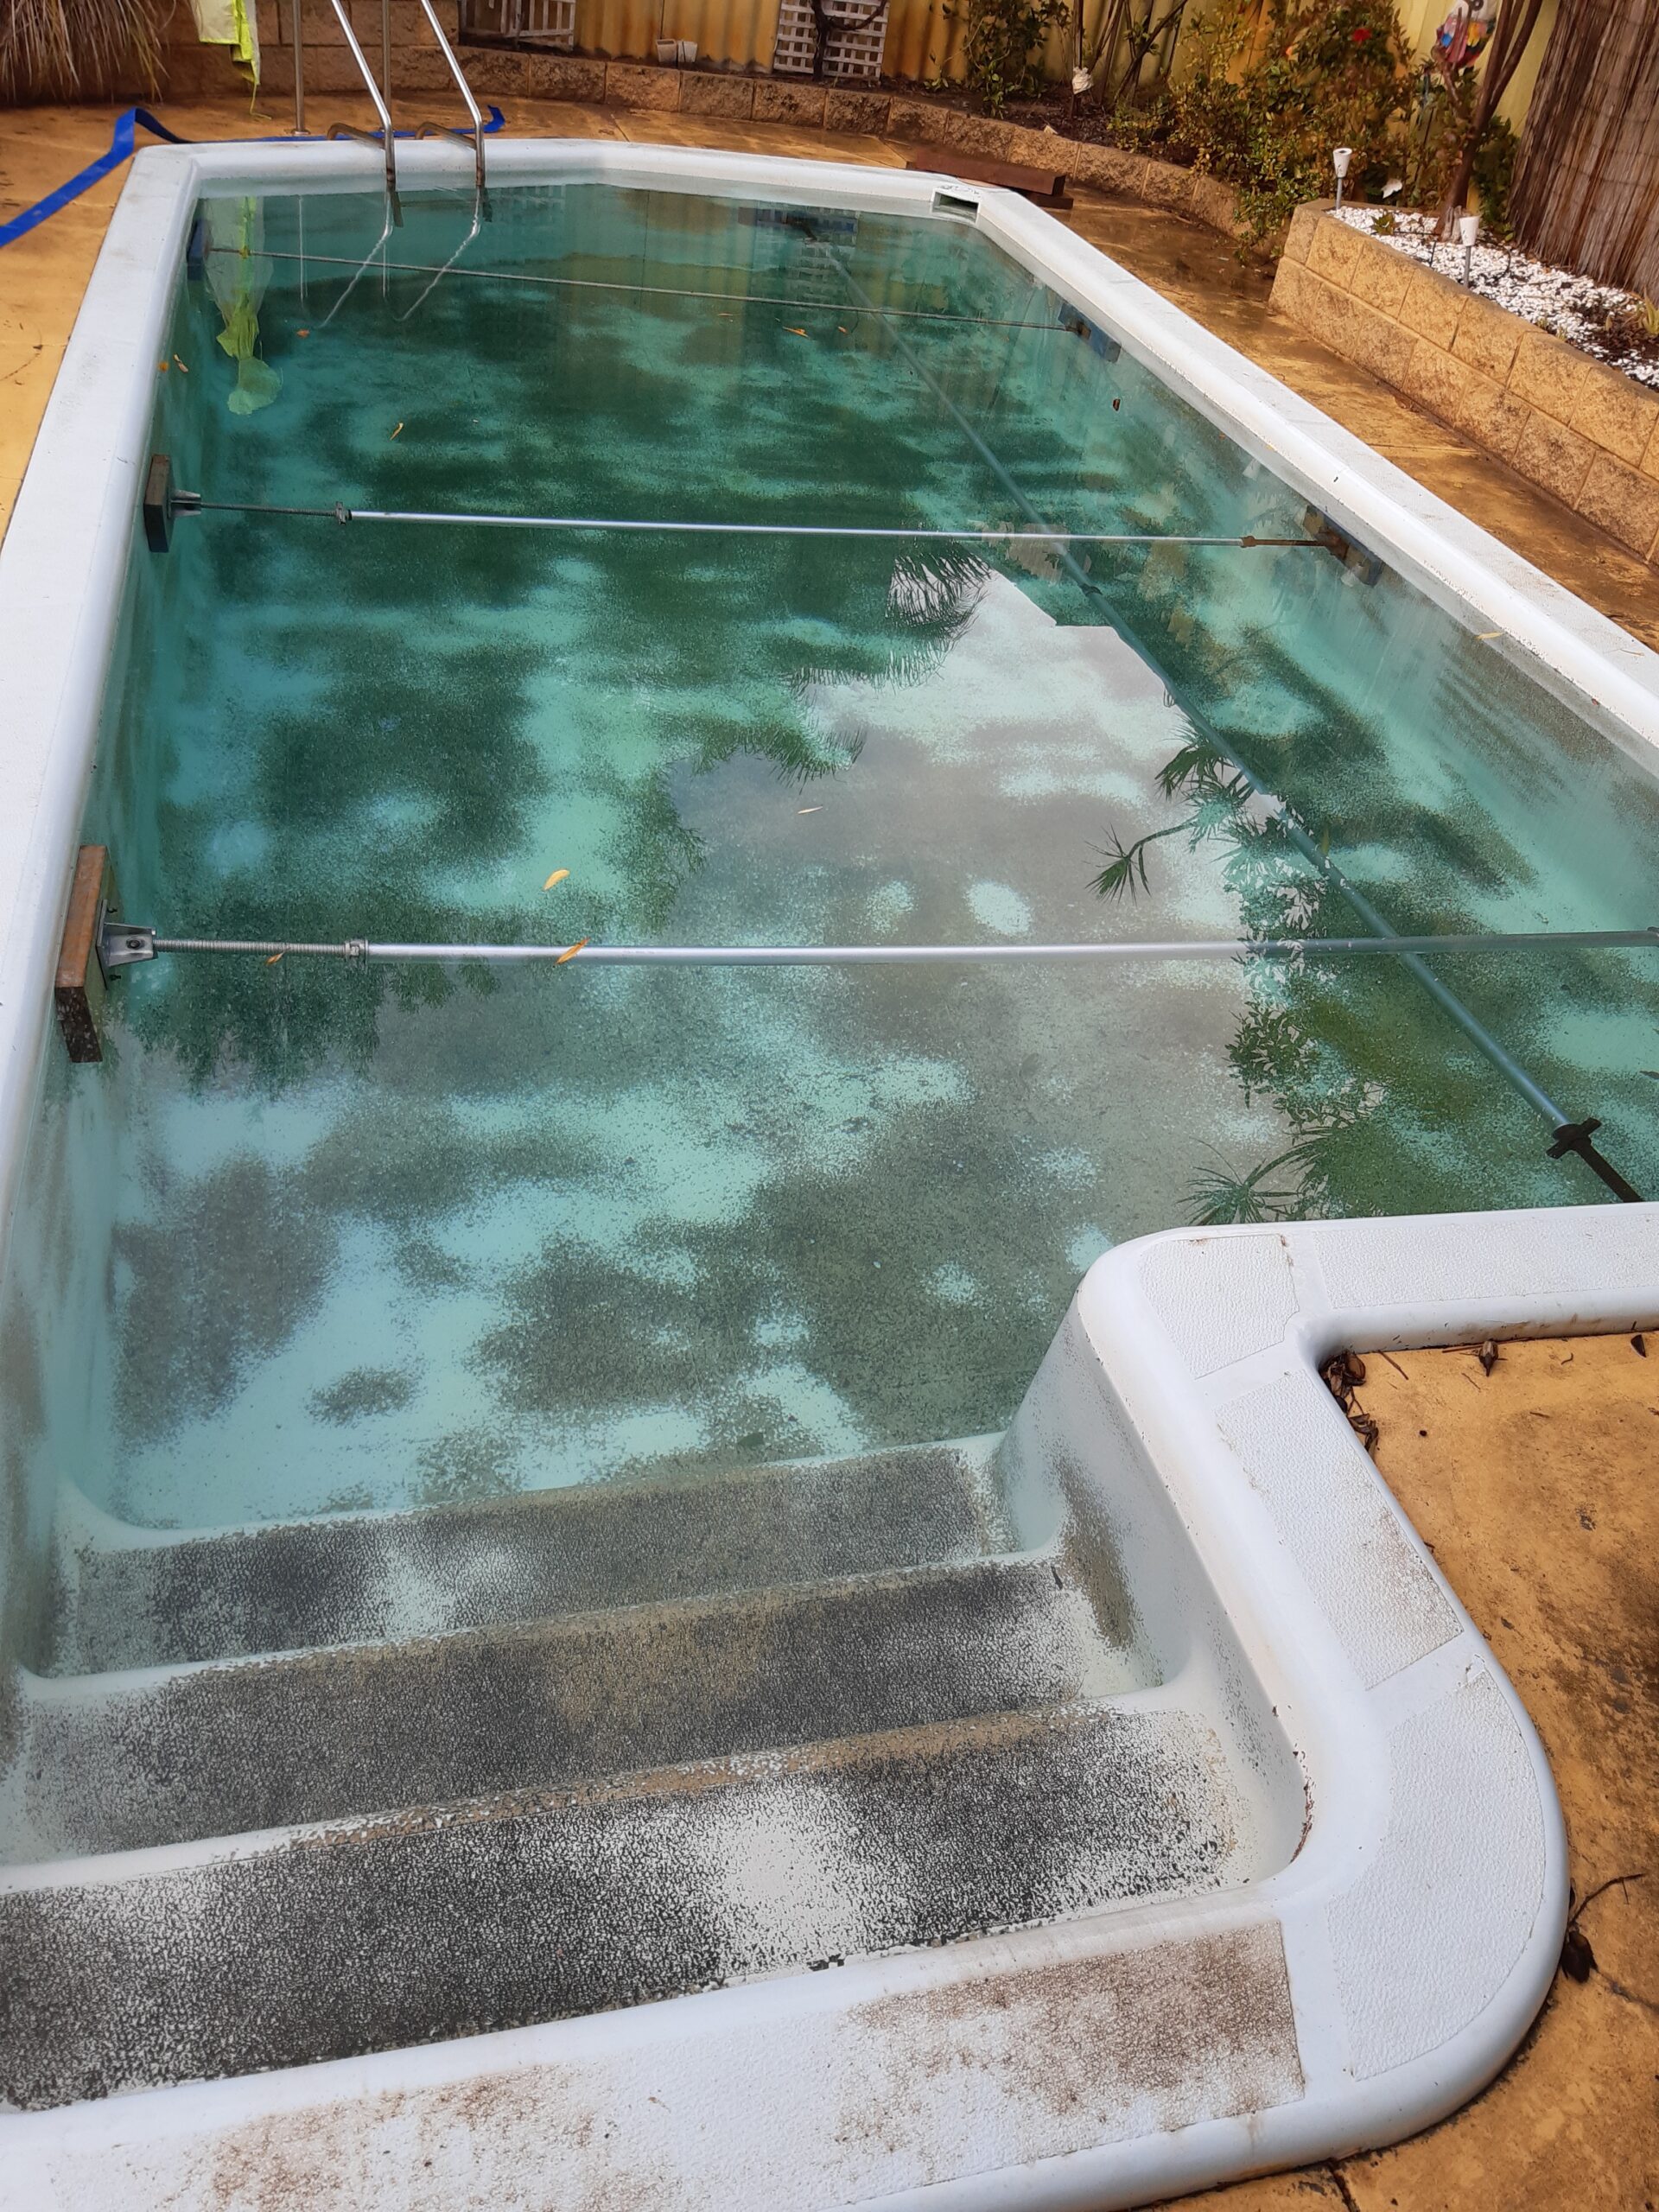
Acid washing strips away the thin, stained outer layer of plaster to reveal a cleaner, brighter finish underneath. It is one of the fastest ways to take years off a pool that has faded, mottled, or picked up stubborn algae staining that brushing alone never touches.

What an Acid Wash Actually Does

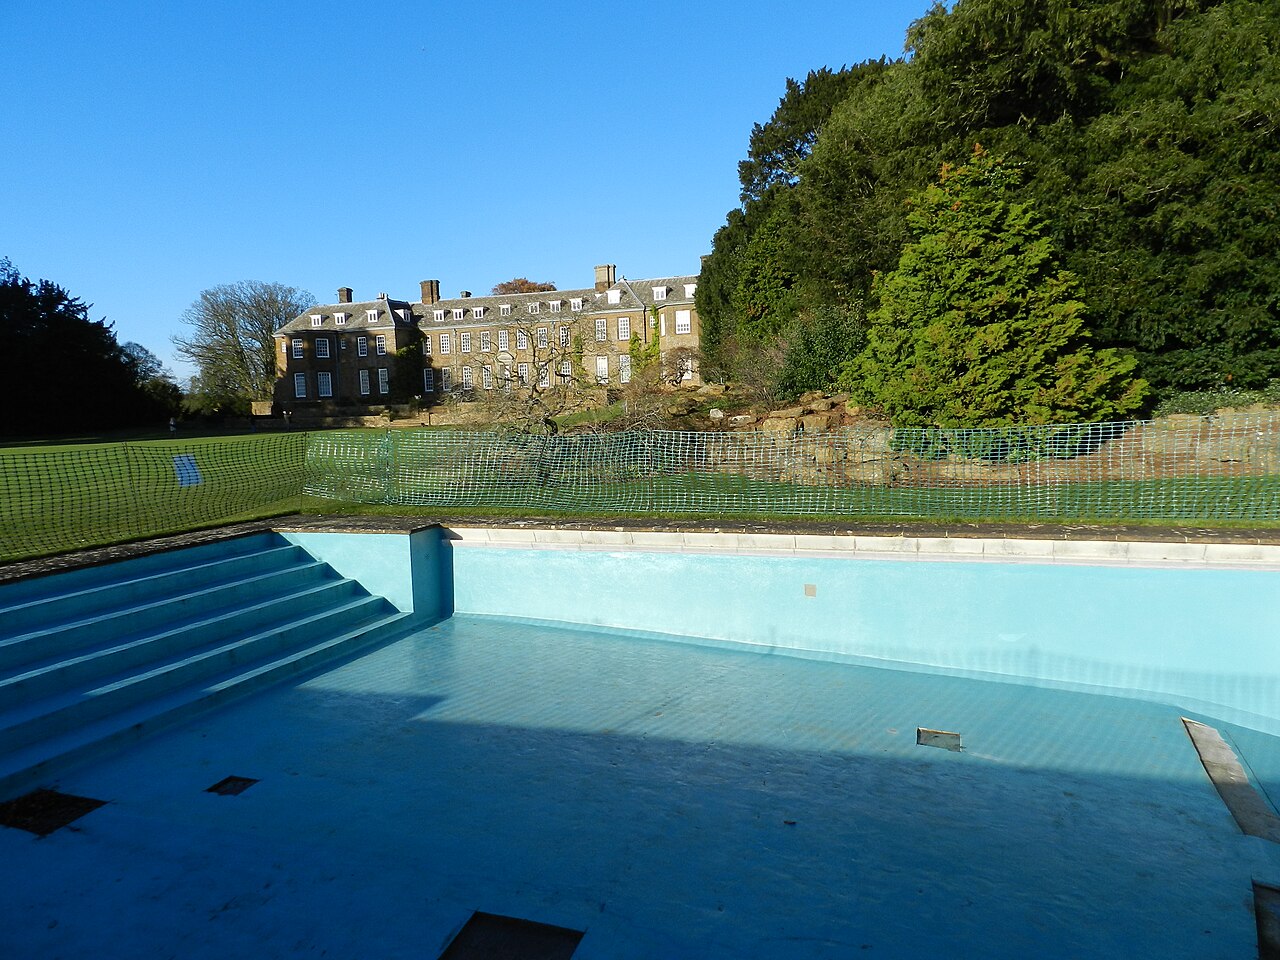
The process uses a diluted muriatic acid solution applied to a drained pool shell. The acid etches away a microscopic layer of the plaster surface, taking stains, calcium deposits, and embedded algae with it. Done correctly, the result is a brighter, more uniform finish – part cleaning, part careful resurfacing.

The trade-off is plaster thickness. Every acid wash removes a small amount of material, so the treatment is best saved as an occasional reset rather than a yearly habit. A pool that needs acid washing every season usually has a water chemistry problem that needs solving, not just a surface that needs stripping.

Signs Your Pool Is a Candidate

  • Widespread staining or mottling that brushing and chemical treatments have not touched.
  • Algae ghosts – dark patterns that remain after a bloom has been killed off.
  • Calcium nodules or scale lines along the waterline and on steep walls.
  • A dull, gray cast that no amount of balancing has brightened.

How It Fits Into a Larger Remodel

During a pool remodel, an acid wash often pairs naturally with other surface work. Once the shell is drained for equipment upgrades, tile replacement, or coping repairs, the exposed finish is the perfect time to evaluate whether cleaning or full pool resurfacing makes more sense.

That call comes down to condition. A structurally sound plaster surface with cosmetic staining is a strong candidate for acid washing. A finish that is thin, cracked, or past its service life is better renewed entirely – and in the East Bay, that usually means comparing plaster against longer-lasting pebble and quartz interior finishes.

Draining and Safety Are Part of the Job

Acid washing requires fully draining the pool, which brings its own risks: hydrostatic pressure on an empty shell, and handling concentrated acid. Professional crews manage both – monitoring groundwater conditions while the pool is empty and applying the solution with the right protective equipment and neutralization steps afterward.

For Danville homeowners, that is the practical takeaway. The acid wash itself is a carefully controlled process, and it earns its place in a remodel when it is timed with the rest of the surface work rather than improvised on its own.

The Bottom Line

An acid wash is not a makeover on its own – it is one tool in the remodel toolkit, best used when a healthy plaster finish just needs its brightness back. If your Danville pool shows stains, algae ghosts, or a tired gray cast, a surface evaluation during your next remodel is the smartest time to find out whether cleaning or resurfacing gives you the better long-term result.

A pool is one of the biggest investments a Danville homeowner can make, and like any major investment, it deserves a professional set of eyes from time to time. That is exactly what a swimming pool inspection is for. Whether you are buying a home with a pool, preparing to sell, or simply want to confirm your own pool is safe and sound, an inspection gives you a clear, objective picture of its condition.

Why a Swimming Pool Inspection Matters

A pool can look inviting and still hide problems beneath the surface. Cracks in a gunite shell, a worn plaster finish, failing equipment, or an unsafe drain cover are rarely obvious from the pool deck. Safety is the foremost concern: a comprehensive inspection identifies potential hazards such as malfunctioning drains, inadequate barriers, faulty electrical connections, or tripping hazards in the pool area. Compliance matters, too. An inspection helps confirm that your pool adheres to local regulations and safety codes, which protects you from potential legal and financial repercussions.

For Home Buyers

For potential homebuyers, a pool inspection provides essential peace of mind. It offers a clear understanding of the pool’s condition before you close, aiding in informed decision-making and negotiation with sellers regarding repairs or adjustments. Skipping this step is one of the most common and costly mistakes a pool-owning homebuyer can make.

For Homeowners and Property Managers

Prolonging the lifespan and value of your pool is a significant benefit of regular inspections and maintenance. Well-maintained pools retain their value and functionality over time. Periodic inspections surface structural issues, equipment efficiency problems, and water quality concerns early — before they turn into expensive repairs. In some cases, insurance providers may even require a documented inspection for pool coverage.

What an Inspection Actually Covers

A thorough swimming pool inspection is a top-to-bottom evaluation, not a quick glance at the water. Key areas include:

  • Structure: the pool shell, walls, and floor for cracks, delamination, rust stains, or movement in the coping and decking around the pool.
  • Finishes: the condition of the plaster, pebble, or quartz interior finish, since a worn finish can signal water chemistry problems or an aging surface nearing resurfacing.
  • Equipment: the pump, filter, heater, and automation controls — checked for leaks, unusual wear, corrosion, and correct operation.
  • Plumbing and electrical: return lines, skimmers, and main drains, plus bonding, grounding, and GFCI protection for anything electrical near the water.
  • Safety features: drain covers, fencing and gates, pool alarms or barriers, and ladders and handrails.
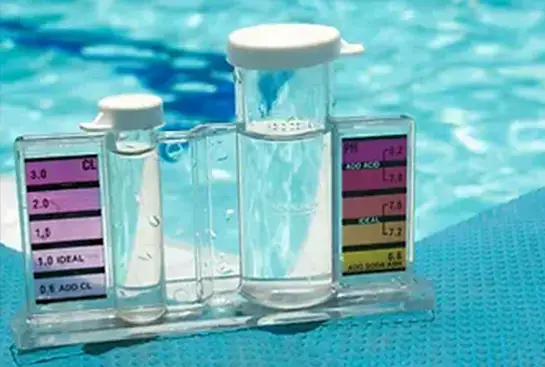
  • Water quality: a water chemistry assessment to confirm the pool is balanced and safe to use.

When to Schedule a Swimming Pool Inspection

Before You Buy a Home

Always order a dedicated pool inspection alongside your standard home inspection. General inspectors rarely evaluate a pool beyond a visual once-over, and the pool can represent tens of thousands of dollars in potential repair liability.

Each Swimming Season

For existing owners, an annual inspection — ideally at the start of the swim season — catches winter damage, equipment wear, and water chemistry drift early. It is a proactive measure that protects both swimmers and your long-term investment.

Before Remodeling

If you are considering a pool remodel, an inspection first gives you an accurate baseline. Knowing the true condition of the shell, plumbing, and equipment means the remodel scope is based on facts, not guesses.

After the Inspection: Putting the Report to Work

A quality inspection does not end with a checklist. The findings tell you exactly what to fix now, what to monitor, and what to plan for. Maintenance items like equipment tune-ups or finish care can often be handled right away, while larger items — such as a pool deck resurfacing project or an equipment replacement — can be budgeted with confidence because you discovered them early instead of during an emergency.

A swimming pool inspection is a proactive measure that promotes safety, compliance, and the long-term value of your pool investment. It turns uncertainty about your pool’s condition into a concrete plan you can act on, whether you are settling into a new Danville home or taking great care of the pool you already own.

Gunite pools are the backbone of backyard building in the East Bay, and for good reason: a steel-reinforced concrete shell can be shaped to almost any design and lasts for decades. But “durable” is not the same as “maintenance-free.” Gunite is a living surface that reacts to water chemistry, weather, and usage, and how you care for it shifts with the seasons. Here is a practical, season-by-season calendar for Danville homeowners, built around our local climate — hot, dry summers and mild, wet winters.

Why Gunite Needs Seasonal Attention

Unlike fiberglass or vinyl, a gunite shell has a slightly porous surface. That porosity makes it strong and repairable, but it also means the shell constantly exchanges minerals with the pool water. When water gets too aggressive (low calcium hardness or low pH), it slowly pulls calcium out of the plaster finish — a process called etching. When water gets oversaturated, minerals fall out of solution and bond to the surface as scale or rough spots. Neither problem shows up overnight; both build quietly across a season. A calendar-based routine keeps that chemistry in the safe zone and protects both the finish and your equipment.

Spring (March – May): Opening and Inspection

  • Inspect the shell. Walk the waterline and the steps with the pool light on after dark. Look for hairline cracks, calcium nodules, or rough patches under your feet. Small crack issues are far easier to address before swim season.
  • Rebalance after the rains. Winter rains dilute pool water. Test pH, alkalinity, calcium hardness, and stabilizer (CYA), and bring them into range in that order.
  • Check the waterline tile. Freeze nights are rare in Danville but a wet winter softens mineral crust — a good time for a gentle tile line cleaning.
  • Service the equipment. Clean filter cartridges, oil or inspect the pump motor area, confirm the timer and automation run your intended schedule.

Summer (June – September): Chemistry Under Heavy Load

Danville summer heat, heavy bather loads, and intense sun push free chlorine down fast and drive evaporation that concentrates minerals. This is the season that punishes neglect.

  • Test two to three times per week. Prioritize free chlorine and pH. Sun-exposed pools commonly need stabilizer maintained in the 30–50 ppm range to keep chlorine from burning off by mid-afternoon.
  • Run the pump longer. Eight hours or more per day during peak heat keeps chlorine evenly distributed and filtration ahead of the load.
  • Watch the water level. Evaporation is fast here; top off with hose water and re-test weekly, because fill water adds hardness over the summer.
  • Brush weekly. Brushing the walls and steps disturbs early scale and algae colonies before they get established — five minutes with a nylon brush pays for itself.

Fall (October – November): Transition and Cleanup

  • Catch the leaves early. Organic debris stains gunite finishes. Empty skimmer baskets more often, keep the cover handy, and don’t let leaf piles sit on the steps or shelf.
  • Scale back — don’t shut down. Danville winters are mild enough that many owners keep pools running year-round at reduced hours. If you lower the schedule, keep at least a few hours of filtration daily and monitor chlorine after storms.
  • Post-season rebalance. After a heavy-use summer, alkalinity and calcium hardness usually need attention. Fixing them now prevents winter etching.

Winter (December – February): Protect the Shell

  • Keep the water balanced all winter. A gunite pool that sits unbalanced for three wet, cool months is the classic setup for spring surface repair. Test monthly at minimum.
  • Run the pump during freezes. Hard freezes are infrequent but real in the Diablo Valley. Moving water rarely freezes; on a freeze night, run the equipment and keep surface skimmers free of ice.
  • Plan winter projects. Off-season is the smart time for resurfacing quotes, tile work, or equipment upgrades — remodel crews have shorter lead times than in spring.

Year-Round Habits That Extend a Gunite Finish

Three habits matter more than anything on a calendar. First, keep pH in the 7.4–7.6 range; it protects swimmers, equipment, and the plaster surface simultaneously. Second, address cracks or delamination quickly — gunite is extremely repairable, but only while the damage is small. Third, never drain a gunite pool without professional guidance, because hydrostatic pressure in our clay soils can lift an empty shell. If you are seeing persistent staining, rough spots, or you are planning a new build, it helps to understand how the shell is actually put together — our swimming pool construction process page walks through each phase, from engineering and steel to the plaster finish that all of the care above protects.

And when the right move is a fresh start rather than a repair, the planning matters even more. Homeowners weighing a new pool or a full remodel in town can see what goes into site evaluation, design, and scheduling on our custom pool construction in Danville page. A well-built shell with a consistent care rhythm behind it is the difference between a pool that looks new for ten years and one that needs resurfacing at year five.

How the Design Becomes a Real Plan

Long before anyone breaks ground, every client gets a custom pool design. Aqua Dream Pools builds incredibly realistic renderings first, so you can see the pool, the spa, and the surrounding features before committing to any of them — and make revisions and improvements while changes are still free. Only after the design is approved does the team move to the layout stage documented on the swimming pool construction overview, taking the dimensions from the drawing and staking them onto the actual site. That outline is the first time the numbers become something you can see: the size and shape of the pool, right there on your property, with room to adjust placement before excavation begins.

Excavation: The Day Your Backyard Changes Shape

Layout complete, the excavators arrive. This is the stage that removes grass, underlying soil, and rock to prepare the site, and it is the messiest, loudest week of the project. It is also the week the pool becomes permanent — the hole follows the approved layout exactly, and every later stage builds on this shape. From the day of excavation, the company’s target is realistic: in as little as six weeks, the construction process can leave you swimming.

Steel and Forming: The Framework Nobody Photographs

After the hole comes the skeleton. Just as wood and steel form the foundation of a home, steel and wood forms shape the structure of the pool here. It is visually rough — rebar grids and wood framing that look nothing like a pool — but it is the framework for a pool-scape with real structural integrity. The steel schedule includes 4, #4 rebar at the bond beam, the maximum strength ring at the top edge of the pool where loads concentrate.

Plumbing and Electrical Before a Drop of Concrete

Before gunite, all plumbing and electrical components are installed. The plumbing is pressure tested; the electrical meets city and state codes. One detail that pays off every month on the utility bill: the suction lines from the main drains and the skimmer are plumbed separately, which maximizes water filtration and reduces energy use.

Gunite Day

Gunite day is the day the pool happens. A large crew applies gunite through high-pressure hoses, working the concrete onto the forming structure, and the first real three-dimensional version of the design appears. It is genuinely exciting to watch — and it comes with homework. For one week after spraying, the gunite shell needs to be hosed down twice a day, 5 to 10 minutes each time, to promote proper curing. Homeowners who do this well end up with a stronger shell; the crew will tell you exactly what to do and when.

Decking, Tile, Coping, and Masonry

With the shell cured, the detail work transforms the site from construction zone to backyard. Decking surfaces follow the design choice: custom stone, broomed concrete, salt, aggregate, brick, pavers, or stamped patterns. This stage also builds out the features that made the rendering tempting in the first place — outdoor fireplaces, fire pits, fountains, summer kitchens. Tile options include natural stone, slates, ceramics, and mosaics; the coping can be crafted from natural flagstone, brick, cement, or other materials. Masons on the team take visible pride in this phase, and quality is monitored during installation so the finished stonework is built to last.

Plaster and the Seven-Day Brush

Then comes plaster — blown onto the gunite and smoothed quickly by an experienced crew, after which the pool is immediately filled with water. Like gunite curing, plaster finishing asks something of the homeowner: for the next seven days, the pool needs to be thoroughly brushed twice a day to ensure the smoothest possible surface. The company is upfront that this step is essential; if you cannot participate, the team asks you to say so in advance so arrangements can be made.

Pool School and the First Swim

Start-up ends with training rather than paperwork. A first-time pool owner can feel overwhelmed by the equipment, so the crew provides “pool school” — hands-on instruction on how to use the pool controls — plus a complimentary manual that explains, in detail, how to care for the pool. Questions after handover are part of the deal; the team stays available on the care and operation of the equipment long after the trucks leave.

Six weeks from excavation to first swim is less time than many people spend planning the party. Knowing what happens at each stage — and what the crew expects from you at each — makes the construction site feel like what it is: an ordered sequence from the custom pool construction plan to the backyard in the finished photos.

A pool deck in Alamo works hard. It takes years of sun, splash-out, and traffic — and many Alamo backyards have decks built long before the pool got its last update. Once the surface looks tired, homeowners face the same question: can targeted repairs bring the deck back, or is it time to resurface the whole thing?

What Deck Repair Covers

Deck repair means fixing what is already there, spot by spot. On a sound deck, small problems can often be handled individually: a hairline crack sealed, a loose paver reset or swapped for a matching one, waterline coping re-mortared. Repair is the sensible first call when the damage is small and isolated — one shifted paver out of four hundred does not require a new deck.

The catch: patches have to bond to the old surface, and they rarely match it in color and texture. A structurally sound deck can carry a few honest patches. A deck that reads like a quilt of old and new sections is telling you the repair era is over.

What Full Resurfacing Means

Resurfacing treats the deck as one surface. Instead of chasing individual problems, the wearing course is replaced across the entire perimeter, so the deck reads as one clean plane again. The new surface can be broomed concrete, salt finish, exposed aggregate, stamped concrete, brick, pavers, or custom stone — and because the finish is applied all at once, materials, joints, and pattern all come out consistent, which is exactly what an aging deck has usually lost. It is also the natural moment for upgrades a repair cannot deliver, from a wider lounging area to a deck tied into a planned remodel.

Warning Signs That Point Past Spot Repair

  • Cracks that run in groups or keep returning — a network of cracks means the surface has finished its working life.
  • Settling or heaving — where slabs tilt away from the pool or pavers undulate, the base moved; a patch will not re-level it.
  • Many loose or sunken pavers — once a noticeable share has shifted, resetting piecemeal stops making sense.
  • Surface worn through — concrete worn raw or coping that chips easily is past the patch stage.
  • Style that no longer fits — if pool, landscaping, and furniture were updated, resurfacing pulls the yard together.

The Material Choice Matters in Alamo’s Climate

Tri-Valley yards run through hot, dry summers and cool winters, and that swing is what moves pool surfaces around. Rigid slabs expand and contract, which is why hairline cracks are common after several seasons of heat. Interlocking pavers and natural stone tolerate that movement better, because the joints absorb what one large slab cannot. Stamped concrete offers a wide decorative range, while travertine stays cooler under bare feet in summer sun.

How We Handle Deck Work

On new construction, decking has its own stage in our process: after the gunite shell is in and before the interior finish is applied. On existing pools, deck renovation is popular because it transforms the yard without disturbing the pool itself. The work starts on paper — every client receives a custom 3D design showing the pool, deck, landscaping, and water features together before ground is broken. For materials, our affiliate showroom in Livermore displays hundreds of decking, coping, and tile options in person. You can review our pool deck installation and resurfacing service, and see how the decking stage fits into swimming pool construction.

Repair or Resurfacing: A Simple Decision Guide

  • One loose paver, one stain — repair the spot and watch its neighbors.
  • Cracks recurring, edges sinking, pavers rippling — the deck wants resurfacing, not another patch.
  • Deck dated but structurally fine — resurfacing delivers the biggest visual return.
  • Remodel planned — renovate the deck within it so the finishes are chosen together.

The most expensive mistake is ordering the wrong size job: years of spot repairs on a deck that needed a new surface, or a resurface laid over a base problem a repair could have solved. A deck evaluation settles it in a single visit.

Frequently Asked Questions

Can only part of my pool deck be resurfaced?

Sometimes. If damage is confined to one section, a partial resurface can work; the hard part is blending new material into old, since fresh material tends to stand out next to faded. We check where a seam would fall first.

How do I know if deck cracks point to a bigger problem?

Pattern matters more than length. Hairline cracks that stay put are usually shrinkage in the wearing course and are repairable. Wide or offset cracks, or cracks that keep coming back after being filled, point to movement in the base.

What deck surface holds up best around an Alamo pool?

Interlocking pavers and natural stone handle ground movement and temperature swings better than one large rigid slab. Stamped and broomed concrete offer strong value when the design calls for a poured surface. The right choice balances slip resistance, heat, and maintenance.