Aqua Dream Pools

Most homeowners have a hard time picturing a swimming pool from a flat drawing. You see lines on paper and try to imagine where the deck ends, how the spa lines up with the patio doors, and whether the water feature will block the view from the kitchen window. That gap between the drawing and reality is where costly surprises come from — and it is exactly the gap that 3D CAD design closes.

What 3D CAD Design Actually Shows You

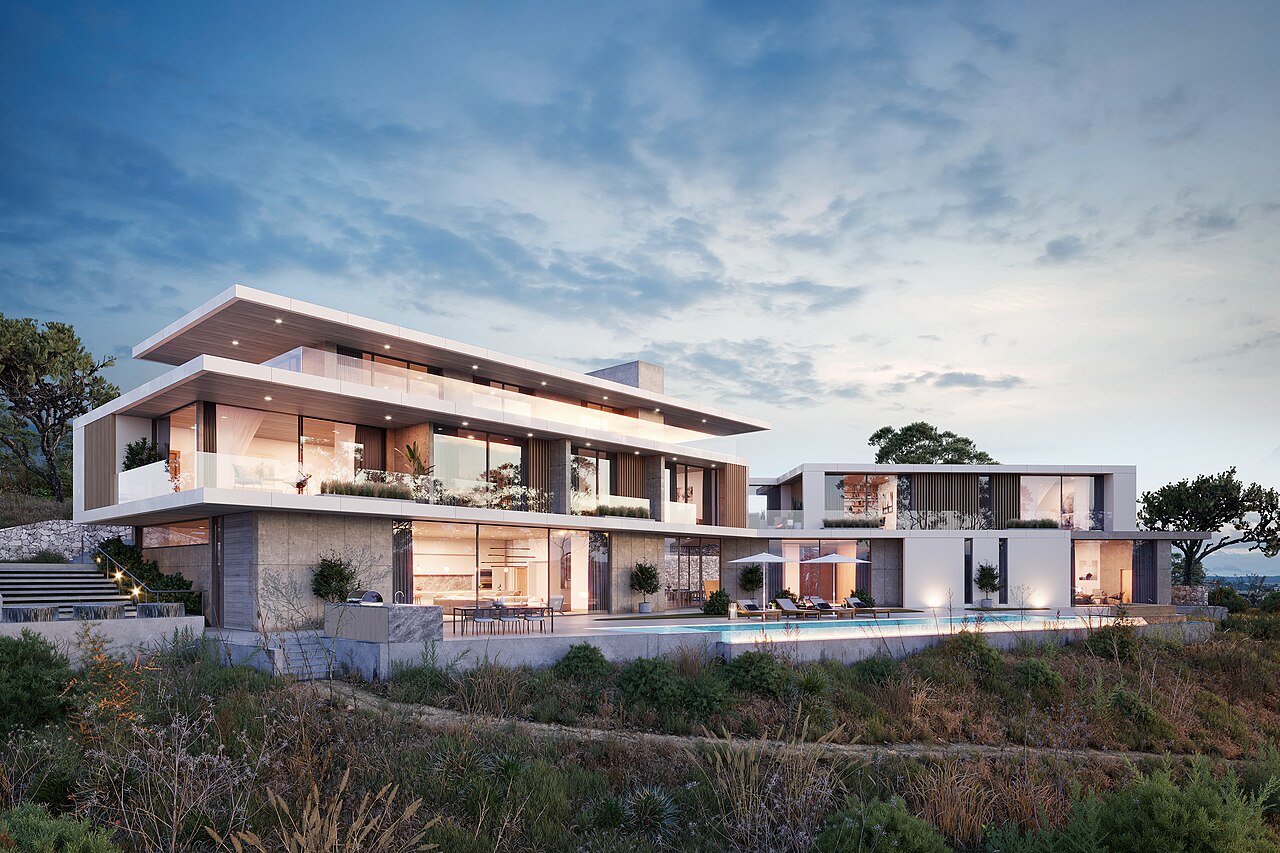
During the design phase, our team builds a three-dimensional digital model of your yard with the pool placed inside it. The model includes the pool shape and size, elevation changes, the deck and its surfaces, landscaping, water features, lighting, and any structures already on the property. You are not looking at an artist’s rough impression — you are walking through an accurate rendering of your own backyard before construction starts.

Because the model is built from real measurements of your property, what you see in the rendering is what the finished project will look like. The swimming pool design page walks through this process in more detail.

Revise on the Screen, Not in the Concrete

Every client receives a custom pool design before we begin custom pool construction in Danville. This matters because changes are cheap on the screen and expensive in the ground. Moving a spa two feet, widening a set of steps, or switching a deck surface from pavers to poured concrete is a conversation in the design phase; after excavation, those same changes mean rework, delays, and added cost.

With a 3D model, you can request revisions during design review and see the impact of each one immediately. Maybe the raised water wall blocks sight lines from the covered patio. Maybe a deeper section makes more sense at the far end than near the shallow entry. You approve the design only after every one of those details looks right to you.

Why This Matters in Danville Backyards

Lots in Danville and the surrounding towns often have slopes, mature trees, or irregular property lines that a stock pool template simply ignores. A 3D CAD model accounts for the actual grade of your yard and how the pool will sit within it. Retaining walls, raised bonds, and multi-level decks can be modeled honestly instead of guessed at, so the construction plan reflects your property — not a generic rectangle on flat ground.

How the Process Works

First, we meet with you to understand how you want to use the space: lap swimming, entertaining, a play area for kids, or a quiet spa retreat. Next, we survey the yard and take the measurements the model needs. Our designers then produce the 3D rendering and walk you through it, section by section. You make revisions, we update the model, and the loop repeats until you are satisfied. Only after you approve the final design do we schedule construction and file for the necessary permits.

From there, the model becomes the shared reference for every trade on the project. The excavation crew, the steel setters, the plumbers, and the finish crews are all building to the same approved picture, which keeps the build aligned with what you signed off on.

See It Before You Build It

If you are planning a new pool or a full backyard remodel, start with the design step rather than a construction quote. Ask us to show you a 3D rendering of your own yard — it is the single best way to make a confident decision about the biggest addition you will ever make to your property.
Gunite pools are the backbone of backyard building in the East Bay, and for good reason: a steel-reinforced concrete shell can be shaped to almost any design and lasts for decades. But “durable” is not the same as “maintenance-free.” Gunite is a living surface that reacts to water chemistry, weather, and usage, and how you care for it shifts with the seasons. Here is a practical, season-by-season calendar for Danville homeowners, built around our local climate — hot, dry summers and mild, wet winters.

Why Gunite Needs Seasonal Attention

Unlike fiberglass or vinyl, a gunite shell has a slightly porous surface. That porosity makes it strong and repairable, but it also means the shell constantly exchanges minerals with the pool water. When water gets too aggressive (low calcium hardness or low pH), it slowly pulls calcium out of the plaster finish — a process called etching. When water gets oversaturated, minerals fall out of solution and bond to the surface as scale or rough spots. Neither problem shows up overnight; both build quietly across a season. A calendar-based routine keeps that chemistry in the safe zone and protects both the finish and your equipment.

Spring (March – May): Opening and Inspection

  • Inspect the shell. Walk the waterline and the steps with the pool light on after dark. Look for hairline cracks, calcium nodules, or rough patches under your feet. Small crack issues are far easier to address before swim season.
  • Rebalance after the rains. Winter rains dilute pool water. Test pH, alkalinity, calcium hardness, and stabilizer (CYA), and bring them into range in that order.
  • Check the waterline tile. Freeze nights are rare in Danville but a wet winter softens mineral crust — a good time for a gentle tile line cleaning.
  • Service the equipment. Clean filter cartridges, oil or inspect the pump motor area, confirm the timer and automation run your intended schedule.

Summer (June – September): Chemistry Under Heavy Load

Danville summer heat, heavy bather loads, and intense sun push free chlorine down fast and drive evaporation that concentrates minerals. This is the season that punishes neglect.

  • Test two to three times per week. Prioritize free chlorine and pH. Sun-exposed pools commonly need stabilizer maintained in the 30–50 ppm range to keep chlorine from burning off by mid-afternoon.
  • Run the pump longer. Eight hours or more per day during peak heat keeps chlorine evenly distributed and filtration ahead of the load.
  • Watch the water level. Evaporation is fast here; top off with hose water and re-test weekly, because fill water adds hardness over the summer.
  • Brush weekly. Brushing the walls and steps disturbs early scale and algae colonies before they get established — five minutes with a nylon brush pays for itself.

Fall (October – November): Transition and Cleanup

  • Catch the leaves early. Organic debris stains gunite finishes. Empty skimmer baskets more often, keep the cover handy, and don’t let leaf piles sit on the steps or shelf.
  • Scale back — don’t shut down. Danville winters are mild enough that many owners keep pools running year-round at reduced hours. If you lower the schedule, keep at least a few hours of filtration daily and monitor chlorine after storms.
  • Post-season rebalance. After a heavy-use summer, alkalinity and calcium hardness usually need attention. Fixing them now prevents winter etching.

Winter (December – February): Protect the Shell

  • Keep the water balanced all winter. A gunite pool that sits unbalanced for three wet, cool months is the classic setup for spring surface repair. Test monthly at minimum.
  • Run the pump during freezes. Hard freezes are infrequent but real in the Diablo Valley. Moving water rarely freezes; on a freeze night, run the equipment and keep surface skimmers free of ice.
  • Plan winter projects. Off-season is the smart time for resurfacing quotes, tile work, or equipment upgrades — remodel crews have shorter lead times than in spring.

Year-Round Habits That Extend a Gunite Finish

Three habits matter more than anything on a calendar. First, keep pH in the 7.4–7.6 range; it protects swimmers, equipment, and the plaster surface simultaneously. Second, address cracks or delamination quickly — gunite is extremely repairable, but only while the damage is small. Third, never drain a gunite pool without professional guidance, because hydrostatic pressure in our clay soils can lift an empty shell. If you are seeing persistent staining, rough spots, or you are planning a new build, it helps to understand how the shell is actually put together — our swimming pool construction process page walks through each phase, from engineering and steel to the plaster finish that all of the care above protects.

And when the right move is a fresh start rather than a repair, the planning matters even more. Homeowners weighing a new pool or a full remodel in town can see what goes into site evaluation, design, and scheduling on our custom pool construction in Danville page. A well-built shell with a consistent care rhythm behind it is the difference between a pool that looks new for ten years and one that needs resurfacing at year five.

How the Design Becomes a Real Plan

Long before anyone breaks ground, every client gets a custom pool design. Aqua Dream Pools builds incredibly realistic renderings first, so you can see the pool, the spa, and the surrounding features before committing to any of them — and make revisions and improvements while changes are still free. Only after the design is approved does the team move to the layout stage documented on the swimming pool construction overview, taking the dimensions from the drawing and staking them onto the actual site. That outline is the first time the numbers become something you can see: the size and shape of the pool, right there on your property, with room to adjust placement before excavation begins.

Excavation: The Day Your Backyard Changes Shape

Layout complete, the excavators arrive. This is the stage that removes grass, underlying soil, and rock to prepare the site, and it is the messiest, loudest week of the project. It is also the week the pool becomes permanent — the hole follows the approved layout exactly, and every later stage builds on this shape. From the day of excavation, the company’s target is realistic: in as little as six weeks, the construction process can leave you swimming.

Steel and Forming: The Framework Nobody Photographs

After the hole comes the skeleton. Just as wood and steel form the foundation of a home, steel and wood forms shape the structure of the pool here. It is visually rough — rebar grids and wood framing that look nothing like a pool — but it is the framework for a pool-scape with real structural integrity. The steel schedule includes 4, #4 rebar at the bond beam, the maximum strength ring at the top edge of the pool where loads concentrate.

Plumbing and Electrical Before a Drop of Concrete

Before gunite, all plumbing and electrical components are installed. The plumbing is pressure tested; the electrical meets city and state codes. One detail that pays off every month on the utility bill: the suction lines from the main drains and the skimmer are plumbed separately, which maximizes water filtration and reduces energy use.

Gunite Day

Gunite day is the day the pool happens. A large crew applies gunite through high-pressure hoses, working the concrete onto the forming structure, and the first real three-dimensional version of the design appears. It is genuinely exciting to watch — and it comes with homework. For one week after spraying, the gunite shell needs to be hosed down twice a day, 5 to 10 minutes each time, to promote proper curing. Homeowners who do this well end up with a stronger shell; the crew will tell you exactly what to do and when.

Decking, Tile, Coping, and Masonry

With the shell cured, the detail work transforms the site from construction zone to backyard. Decking surfaces follow the design choice: custom stone, broomed concrete, salt, aggregate, brick, pavers, or stamped patterns. This stage also builds out the features that made the rendering tempting in the first place — outdoor fireplaces, fire pits, fountains, summer kitchens. Tile options include natural stone, slates, ceramics, and mosaics; the coping can be crafted from natural flagstone, brick, cement, or other materials. Masons on the team take visible pride in this phase, and quality is monitored during installation so the finished stonework is built to last.

Plaster and the Seven-Day Brush

Then comes plaster — blown onto the gunite and smoothed quickly by an experienced crew, after which the pool is immediately filled with water. Like gunite curing, plaster finishing asks something of the homeowner: for the next seven days, the pool needs to be thoroughly brushed twice a day to ensure the smoothest possible surface. The company is upfront that this step is essential; if you cannot participate, the team asks you to say so in advance so arrangements can be made.

Pool School and the First Swim

Start-up ends with training rather than paperwork. A first-time pool owner can feel overwhelmed by the equipment, so the crew provides “pool school” — hands-on instruction on how to use the pool controls — plus a complimentary manual that explains, in detail, how to care for the pool. Questions after handover are part of the deal; the team stays available on the care and operation of the equipment long after the trucks leave.

Six weeks from excavation to first swim is less time than many people spend planning the party. Knowing what happens at each stage — and what the crew expects from you at each — makes the construction site feel like what it is: an ordered sequence from the custom pool construction plan to the backyard in the finished photos.

Sound, Motion, and Style You Can Build In

A pool with no water in motion is quiet in the wrong way. Add a feature that moves water — a waterfall, a sheer descent, a line of bubblers — and the same pool suddenly looks designed and sounds alive. Water features are one of the easiest ways to reflect your family’s style in a custom pool, whether that style is natural, modern, or somewhere in between. Here is a plain-English tour of the most popular water features and accessories, what each one actually does, and how to think about adding them to a new build or a remodeling project in the Bay Area.

Waterfalls: The Natural Choice

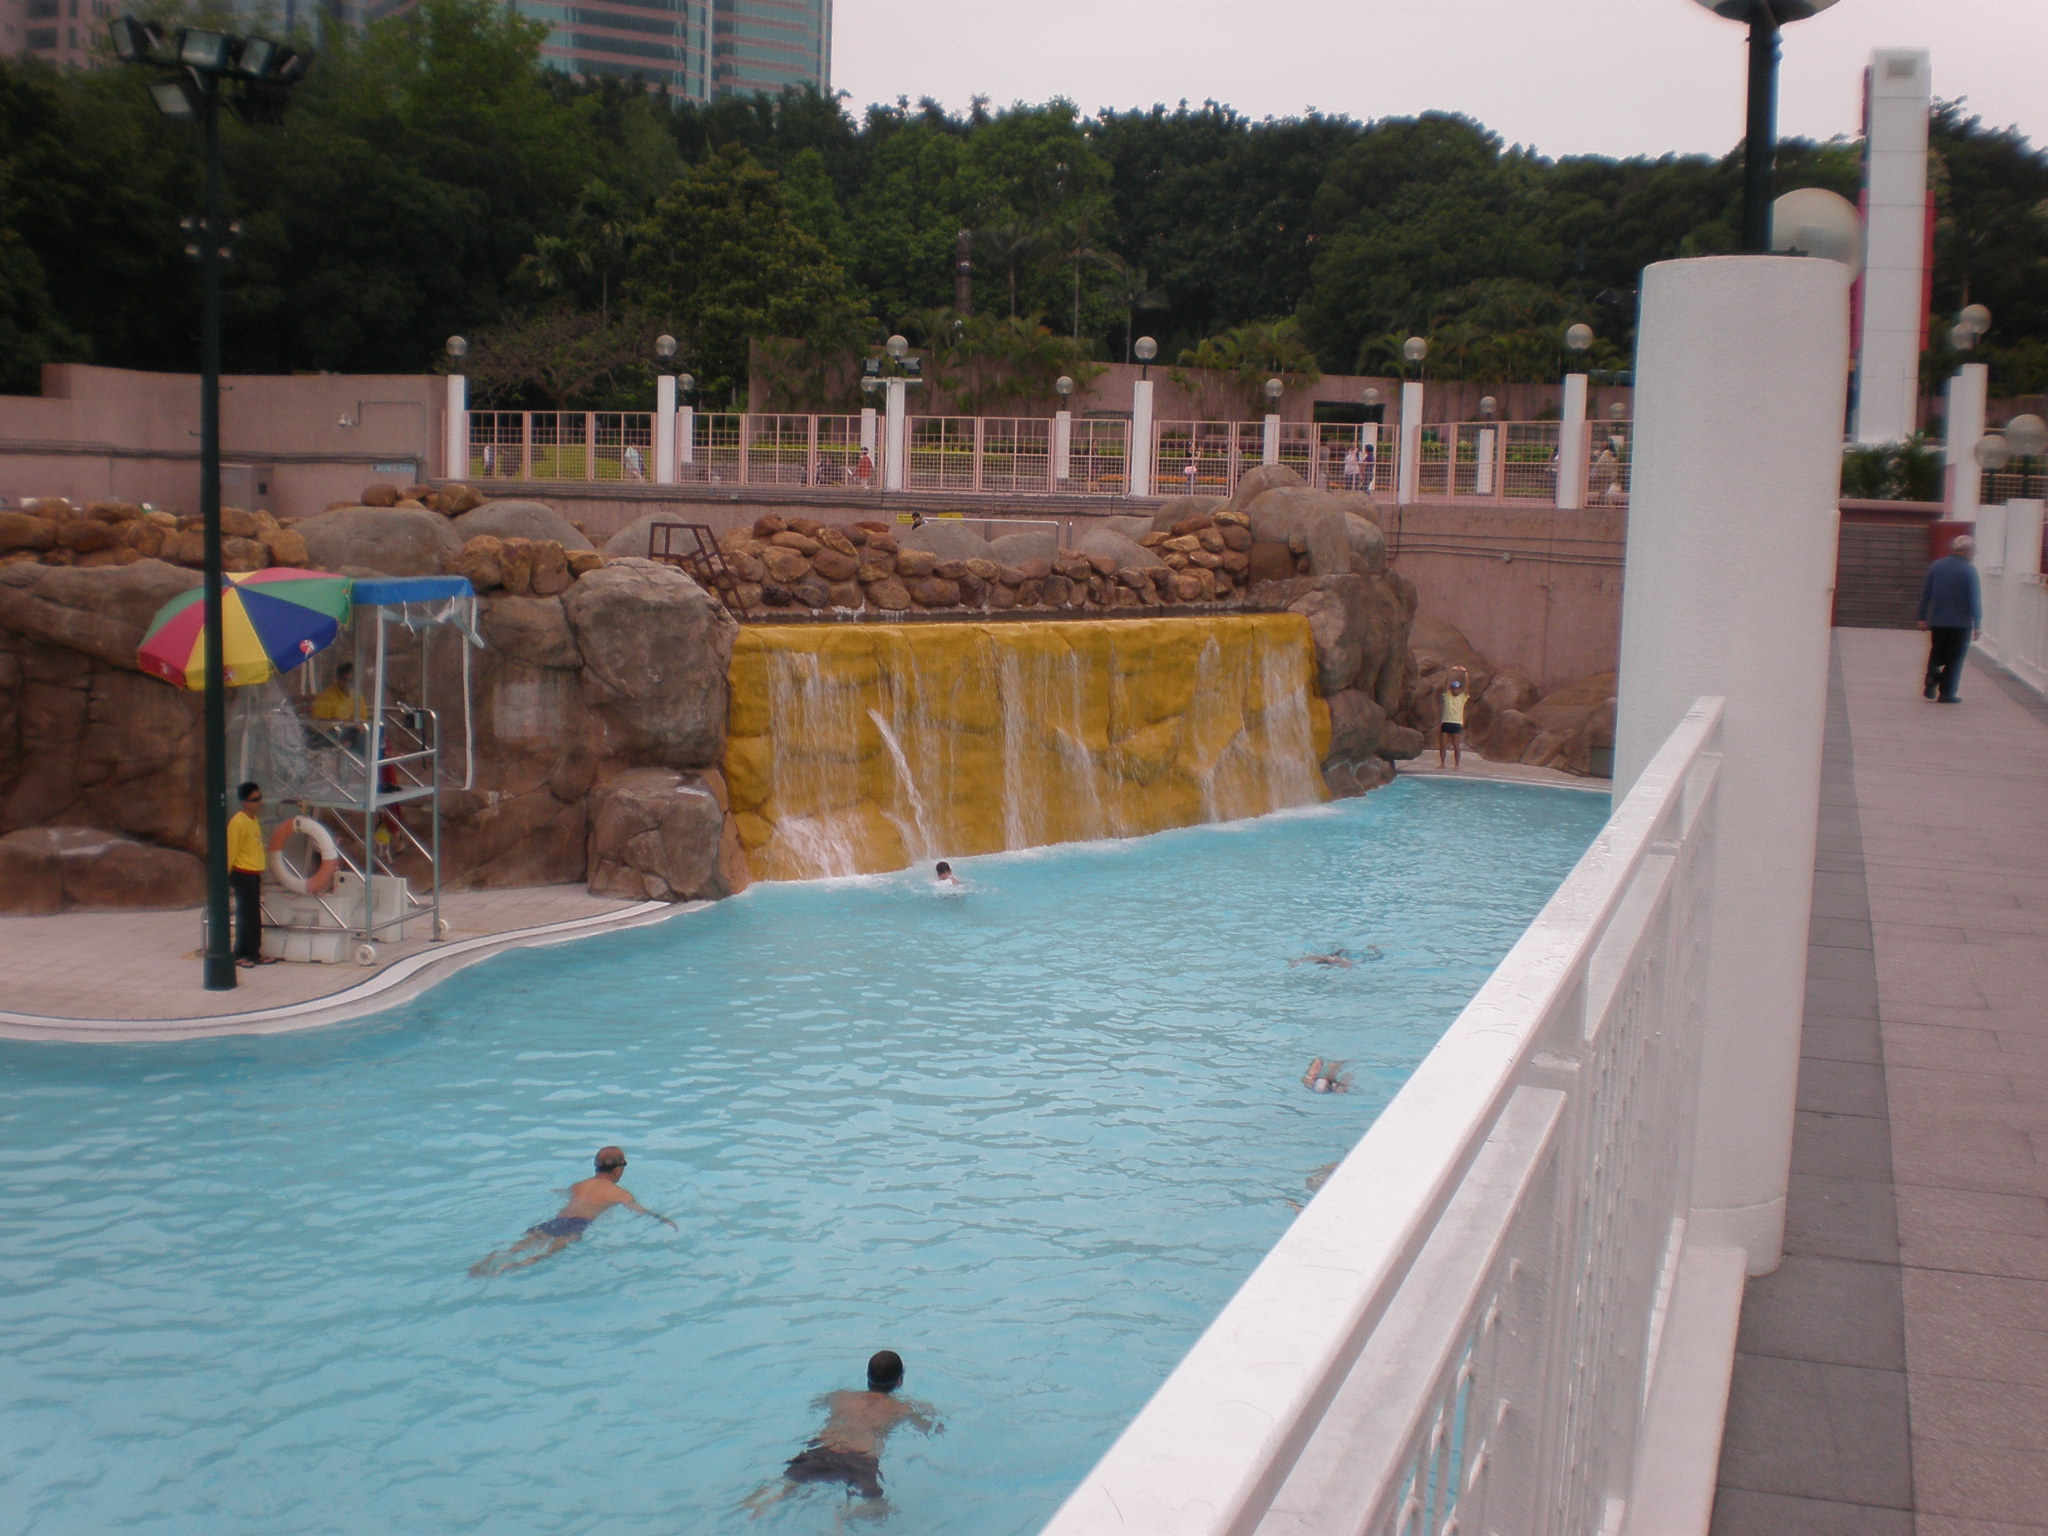
Waterfalls are the classic water feature for a reason. Built to cascade into the pool, they add sound and motion that make the whole yard feel more relaxed. A waterfall works with almost any design language: natural rock-styled falls suit freeform pools, while clean lines and stacked stone suit a more contemporary look. Because the fall is built into the pool’s structure, it is best planned during design — a professional builder can shape the height and flow so the sound is pleasant from a patio chair, not overwhelming.

Sheer Descents and Scuppers: Sleek and Modern

If a rocky waterfall does not match your style, sheer descents are the modern alternative. A sheer descent releases a thin, elegant sheet of water that falls smoothly into the pool — a clean, architectural look that pairs beautifully with glass tile and sharp edges.

Scuppers are similar cousins. They are decorative openings set into a wall or raised area, letting water spill through into the pool below. Where a sheer descent is a wide sheet, scuppers create a distinct, sculptural stream. Both options give you the sound of moving water with a far more refined silhouette than a natural waterfall — a favorite for homeowners who want the effect without the rustic styling.

Fountains and Rain Curtains

Fountains can be designed in a wide range of shapes and sizes, which makes them an easy way to create a striking focal point. They add the soothing sound of flowing water and can stand alone or complement other features in the pool.

Rain curtains are the more theatrical option. Thin streams of water fall from an overhead structure, creating the sensation of standing in a refreshing rain shower. It is a dramatic feature that guests remember — and one more reason water features deserve a spot in the design conversation early rather than as an afterthought.

Bubblers and Sun Shelves: Built for Lounging

Bubblers shoot playful jets of water up from the pool’s surface — small, lively bursts that kids love and that keep shallow water shimmering. Bubblers pair naturally with a sun shelf, also called a tanning ledge: a wide, shallow area in the pool where you can relax in just a few inches of water. Add bubblers to a sun shelf and you get a comfortable, splash-friendly lounge zone that photographs as well as it works. Built-in steps and benches complete the picture, offering convenient seating and easy entry points.

Lighting: The Feature You Notice After Dark

Underwater LED lighting earns its place on any shortlist. When night falls, lit water transforms the mood of the entire yard, while safer visibility for evening swims is a genuine practical benefit. Lighting is also one of the most flexible accessories: it works with waterfalls, sheer descents, rain curtains, and basic pools alike, and it multiplies the effect of every other feature you add.

Fun and Everyday Accessories Worth Considering

Water features shape the look and sound of the pool; accessories shape how you use it. Popular options include:

  • Pool slides — a reliable crowd-pleaser for families with children.
  • Swim-up bars — enjoy a drink without ever leaving the water.
  • Pool covers — automatic or manual, they support safety, improve energy efficiency, and help keep the pool clean between swims.
  • Outdoor showers — a quick rinse before swimming keeps the water cleaner.
  • Poolside landscaping, cabanas, and gazebos — plants and shade structures frame the pool area and make it an outdoor room rather than a concrete pad.

How Water Features Fit the Build or Remodel

The right feature depends on your pool, yard, and budget — and on timing. During a new build, features can be designed into the structure from day one: elevation changes for waterfalls and spillways, plumbing runs for bubblers and rain curtains, and lighting wiring planned before concrete is ever poured. During a remodel, many features can be added as part of a broader renovation, which is a good moment to reconsider an older pool wall or raised spa that has been underperforming visually.

A full-service custom builder handles both paths. Aqua Dream Pools has transformed 2,000 backyards and counting, designing everything from waterfalls and intricate tiling to ambient lighting as part of a complete custom pool build. The takeaway for homeowners: do not shop for water features as bolt-on trivia. Treat them as design decisions, made alongside the pool itself.

See the Options, Then Get an Estimate

The fastest way to settle on a feature set is to look at real examples. Browse the full water features and accessories lineup to compare waterfalls, sheer descents, bubblers, rain curtains, and lighting in one place, or get a jump-start with a free pool estimate for your backyard. Bring a photo of your yard and a short list of the features you love — the design conversation starts there.

How Long Does It Take to Build a Pool? Bay Area Timelines

“How long does it take to build a pool?” is usually the first question a homeowner asks—and the honest answer is that the calendar is mostly written during design. On the Danville-area projects we run at Aqua Dream Pools, our pool construction process can have you enjoying your pool in as little as six weeks from the date of excavation. The part that stretches most timelines is everything your family wants to decide on before we break ground: the shape, the finishes, the spa, the fire pit. Here is what to expect, start to finish.

The short answer for Bay Area homeowners

Once excavation starts, an experienced builder moves fast: our construction phase can be done in as little as six weeks. Add the design phase in front of it—where your pool, spa and yard come together as a plan you approve—and the total project takes as long as the decisions take, not the concrete. That is exactly why homeowners who want to swim next summer start the conversation in fall and winter.

Step 1: The 3D design phase (before any digging)

Every one of our clients receives a custom pool design before construction begins. We build a three-dimensional rendering of your yard with the proposed pool in it, so you can see the shape, size, waterline tile, landscaping and feature placement before committing. Revisions here are cheap; revisions after excavation are not. When you approve the design, the real clock starts.

Want a deeper look at why we insist on this step? We wrote about how 3D CAD designs help you avoid costly pool-building mistakes, and our design studio runs full 3D video walkthroughs with Vip3D software on request.

Step 2: Construction, step by step

  1. Layout. We transfer the approved dimensions onto the site so you can see the true footprint and make final size and location changes before breaking ground.
  2. Excavation. Grass, soil and rock come out to prep the site. This is day zero—the six-week clock starts here.
  3. Forming and steel. Steel and formwork create the structural skeleton; ours includes four #4 rebar runs at the bond beam for maximum shell strength.
  4. Electrical and plumbing. All lines go in before the shell: plumbing is pressure tested, and electrical is built to city and state code. Main drain and skimmer suction lines are plumbed separately for better filtration and energy efficiency.
  5. Gunite shell. A large crew sprays the Gunite under high pressure to form the tough inner shell—the first time your pool looks like a pool. For the first week you spray it down twice a day, 5–10 minutes each, to help it cure properly.
  6. Decking. The perimeter gets its surface—custom stone, broomed, salt, exposed aggregate, brick, pavers or stamped concrete—and design features like fire pits, fountains or summer kitchens are built out.
  7. Tile and coping. Natural stone, slate, ceramic and mosaic tiles go in, with coping in flagstone, brick, cement or other materials from your design.
  8. Masonry and stone. Walls, raised features and stone details are finished with quality checks as the stonework progresses.
  9. Plaster. The interior finish is blown onto the gunite and smoothed—then the pool is filled. For the next 7 days you brush the surface twice a day; it is the single most important homeowner step for a smooth final finish.
  10. Start-up and training. We walk every new owner through the controls, chemistry start-up and maintenance routine so the pool stays as clean as the day we leave.

What can stretch (or shrink) your timeline

  • Design decisions. The biggest variable is approval. A family that finalizes its design in one or two review sessions saves weeks.
  • Feature count. A spa, fire feature, water feature or outdoor kitchen adds scope after excavation; simple footprints move fastest.
  • Finish selections. Custom stone and special-order tile look better and can take longer to source—choose finishes early if you target a spring completion.
  • Homeowner steps. The twice-daily gunite watering week and the twice-daily plaster brushing week are part of the schedule; missing them delays finishing.

Why fall and winter are the smart season to start

In the Bay Area, pools get built year-round—but your target matters. If “swim-ready by summer” is the goal, a fall or winter start puts design and approvals on the calendar while construction lands right in front of warm weather. Homeowners who wait for a spring estimate usually finish the design phase just as everyone else is booking builds too. Starting early means your crew attention, your finishes and your first pool day all arrive on schedule.

Get a free pool estimate in Danville and the East Bay

The fastest way to turn a timeline into a date is a site visit. Request a free pool estimate and we will walk your yard, discuss layout, spa and feature options, and map the schedule that gets you swimming next summer. Call Aqua Dream Pools at (925) 584-2112—we build custom pools and spas for homeowners in Danville, Hayward and across the East Bay.

Custom Pool and Spa Combo Design Ideas That Work

Why Pool and Spa Combos Are Having a Moment

A swimming pool alone turns a backyard into a place to cool off. A pool with an attached spa turns it into a place to live — morning laps, afternoon play, and a warm soak after the sun goes down. For homeowners planning a custom build, a pool and spa combo is one of the most requested layouts, and for good reason: it multiplies how you use the space without doubling the footprint.

If you are exploring a custom pool and spa for your property, the design choices you make early — where the spa sits, how water moves between the two, which features frame them — shape how the whole backyard feels for decades. Here are the combo layouts that work best, and what to think about before you commit.

The Spillover Spa: Seamless by Design

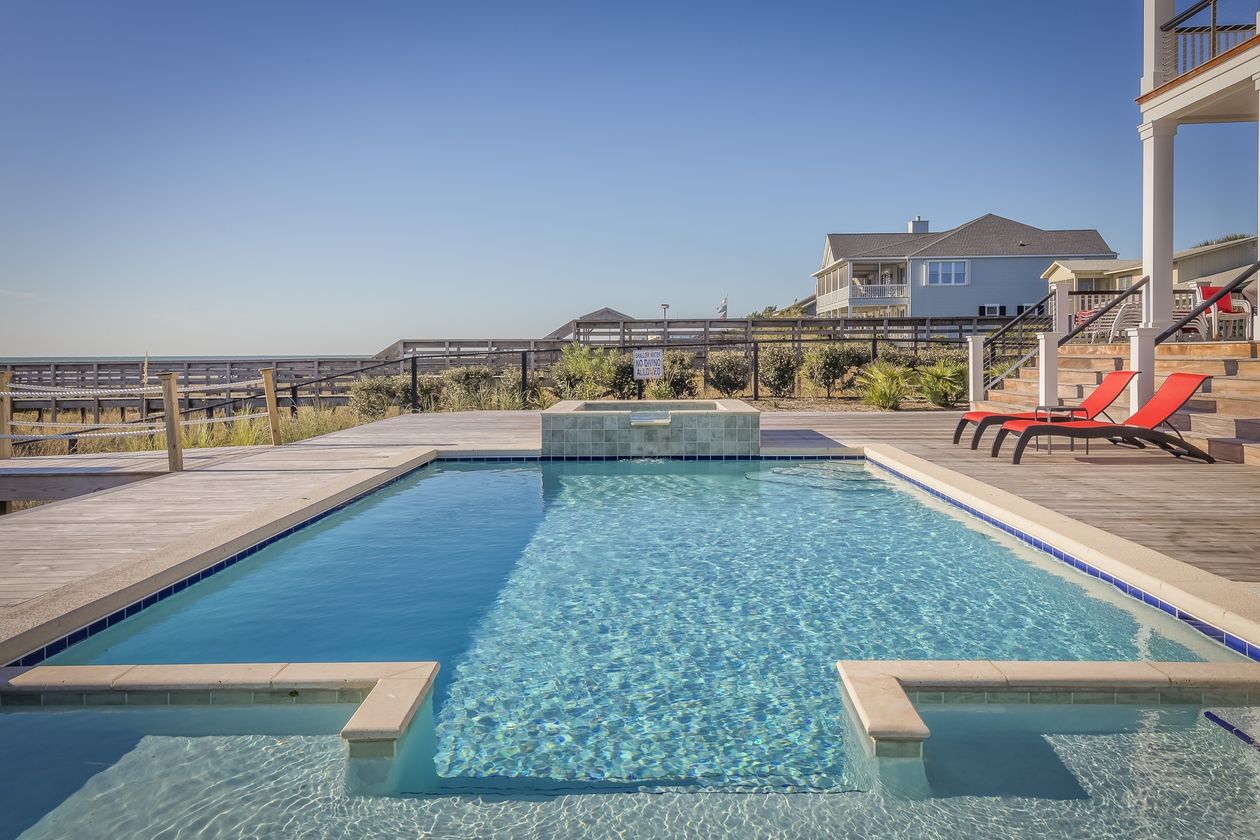
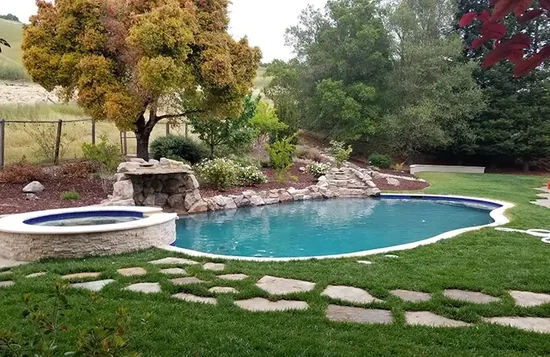
The spillover (or spill) spa is the classic combo. The spa sits level with or slightly above the pool, and its water spills over a raised edge — a dam wall — into the pool below. When the spa runs, you get the sound and movement of a waterfall built into the pool itself. When it is off, the two bodies of water read as one continuous design.

Homeowners like spillover spas because they solve two problems at once: the spa functions as a separate heated body of water, and the spillway doubles as a water feature that needs no extra space. It is the cleanest way to make a spa feel intentional rather than bolted on.

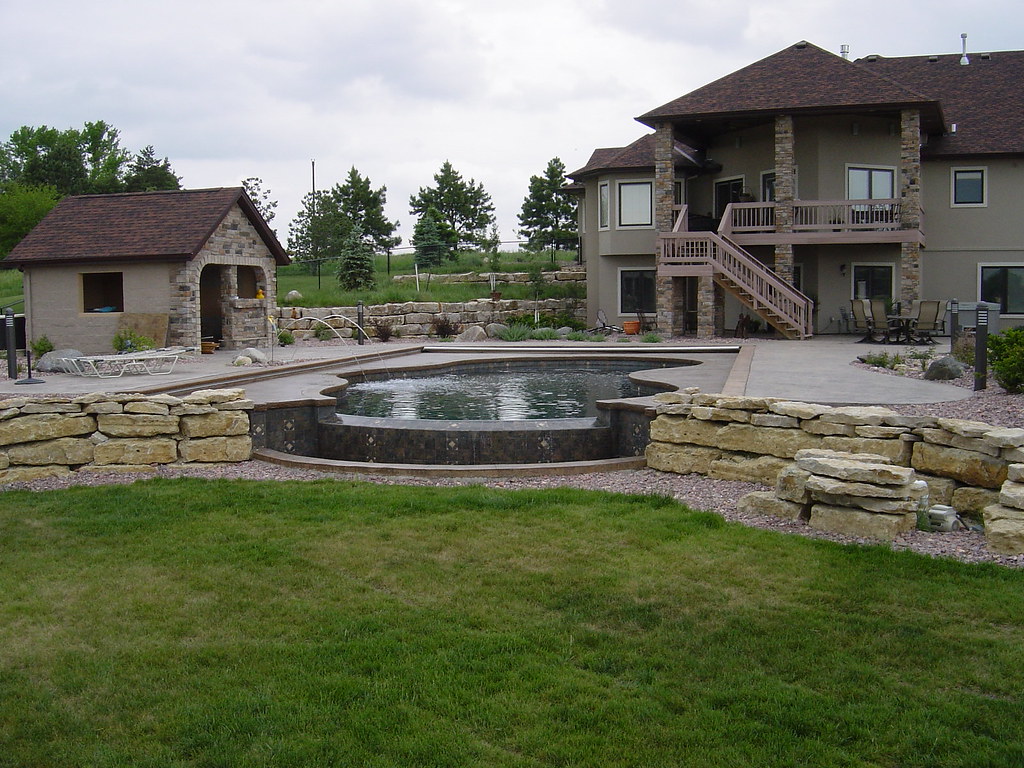
Custom pool and spa combo design with raised spillover spa

Raised Spas with Water Features

Take the spillover concept up a level — literally — by raising the spa 18 to 30 inches above the pool deck. A raised spa gives you:

  • A destination. Elevated spas read as a focal point, especially when finished with stone or tile that matches the pool coping.
  • Layered water effects. Sheer descent waterfalls or scuppers pouring from the spa wall into the pool add movement and sound.
  • Optional seating. A raised wall on the far side can double as informal seating around the spa.

Paired with water features and accessories like bubblers or deck jets, a raised spa becomes the anchor of the whole poolscape.

Fire and Water: The Backyard Contrast Pair

Water calms; fire energizes. Combining them near a pool and spa is one of the strongest design contrasts available. Fire bowls or a fire feature placed near the spa end of the pool extend usable hours into cool evenings — you can be in the spa, warmed from the water, with firelight across the surface. Add landscaping with mood lighting and the backyard stops being a daytime space entirely.

This is where a truly custom design pays off. Features, sightlines, and lighting can be arranged around how your family actually uses the yard — not a template.

Tanning Ledges and Baja Shelves Next to Spa Seating

Tanning ledges (also called Baja shelves) pair naturally with spa combos. The shallow ledge sits at one end of the pool for lounging with a book and feet in the water, while the spa waits at the other end for the evening wind-down. Between the two, the pool itself does its job: swimming, games, and everything in between. A layout like this gives every member of the household a reason to be outside.

Practical Questions That Shape the Design

Before drawings begin, a few practical decisions narrow the field fast:

  • How do you want to use the spa? A therapy-focused spa runs hotter and seats fewer people; an entertainment-focused spa stays open to the pool area.
  • Independent controls? Many owners want the spa heated and running on its own schedule, separate from the pool — worth deciding with your builder early, since it affects equipment.
  • Where does the view sit? Orient the spillover wall and water features toward the patio or main window views so the design is visible from inside the house too.
  • New build or remodel? Adding a spa to an existing pool is often possible with a pool remodel, though it changes plumbing and decking scope.

See It Before You Build It

The biggest risk in a combo design is guessing wrong on scale and placement. That is why we design in 3D first — as we covered in our post on how 3D CAD designs help you avoid costly mistakes, seeing the spa, spillway, and fire features positioned in your actual backyard settles debates before concrete is poured.

Design Your Pool and Spa Combo

A pool and spa combo is not one feature — it is a system: spa placement, water movement, fire, light, and landscaping working together. Residential custom pools are the specialty here, and every backyard gets a design built around it, not a standard plan.

Ready to see what a combo would look like in your yard? Request a free pool estimate and start the conversation about a custom pool and spa designed for the way you live.